



We live on our iPhones. They hold our photos, work documents, notes, banking apps and years’ worth of chats, so when something goes wrong and important information is lost, panic sets in fast. If it was an accidental deletion, a bad update or physical damage to the phone, it can feel like your memories or documents are gone for good. This guide walks through what actually works, in the order you should try it.
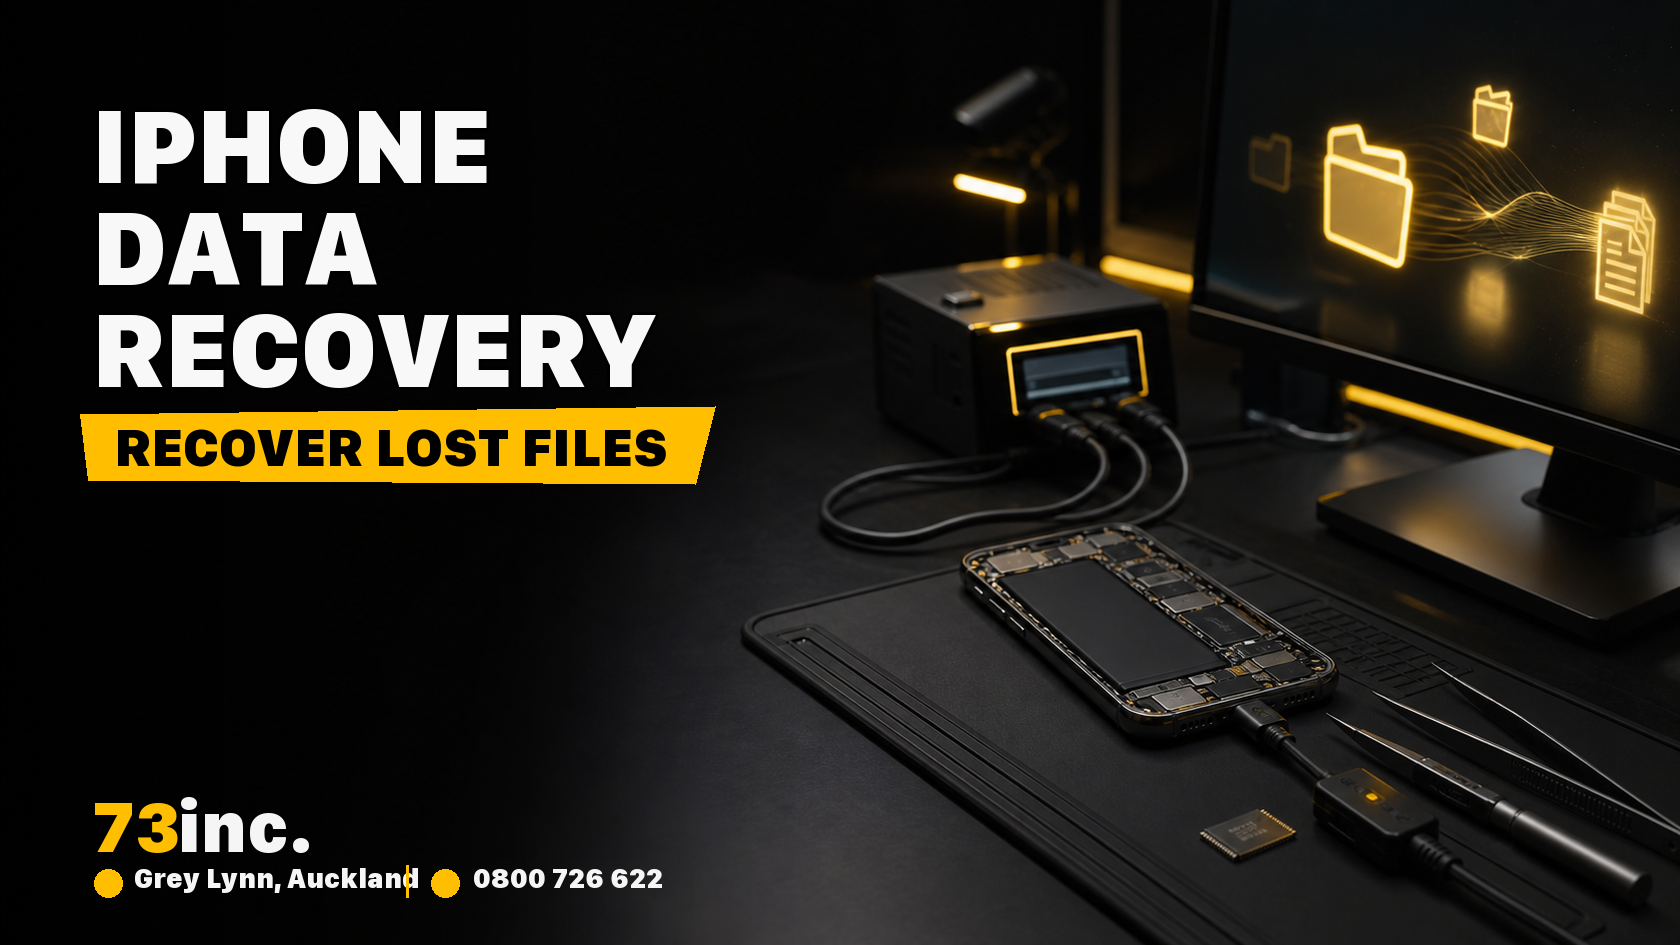
Is the iPhone dead, smashed or water-damaged? Stop here.
Do not charge it or keep pressing the power button. Every DIY attempt on a hardware-damaged phone can reduce the chances of successful recovery.
Our iPhone data recovery service in Auckland starts with a free initial conversation. We will tell you honestly whether recovery looks realistic before anything is booked in.
Why Do iPhones Lose Data?
- Accidental deletion: The most common cause by far. One wrong swipe, and a photo, note or file is gone.
- Software glitches: A failed iOS update, an app crash or storage-full errors that corrupt files.
- Physical damage: Drops, water or a failed logic board that makes the phone and everything on it unreachable.
- Device erased or restored: The iPhone has been factory-reset or restored through Finder, Apple Devices or iTunes.
- Storage or logic-board failure: A hardware fault prevents the device from booting or accessing its encrypted data.
- Sync gone wrong: iCloud or computer syncing has overwritten newer data with an older state.
Knowing the cause is important because the appropriate recovery process depends on whether the problem is software or hardware related.
Step 1: Check For Backups First
The easiest way to recover data is from a backup you already have. Many iPhone owners forget they have enabled automatic backups until they check.
- iCloud: Open Settings > [your name] > iCloud and look for your backups. The exact menu path varies slightly between iOS versions. Note the date and contents of the most recent backup before doing anything else.
- Computer backups: If you have ever backed up to a Mac through Finder or to a PC through iTunes or the Apple Devices app, a local backup may exist there.
- Third-party cloud services: Google Drive, Google Photos, Dropbox and OneDrive may hold photo or file backups if syncing or automatic uploads were previously enabled. Your lost files may already be stored in one of these services, so check before doing anything drastic.
Restoring an iCloud or computer backup is generally a whole-device restore. It is not a way to selectively add one missing file back to the phone in its current state.
Apple’s process may require the device to be erased first. Restoring then replaces the device’s current contents and settings with those contained in the selected backup.
Step 2: Search The “Recently Deleted” Folders
Apple’s 30-day safety net catches more losses than any recovery app ever will:
- Photos: Go to Albums > Utilities > Recently Deleted. This folder is protected by Face ID, and deleted photos and videos remain there for around 30 days.
- Notes: Notes has its own Recently Deleted folder in the folder list.
- Messages: On iOS 16 and later, go to Messages > Filters or Edit > Recently Deleted. Messages may be recoverable for up to 30 days.
- Files app: Go to Browse > Recently Deleted to look for documents.
If the loss happened within the last month, start here. It is the safest and quickest place to check first.
Step 3: Be Cautious With iPhone Recovery Software
A word of caution before you spend money here. Many recovery applications do not directly retrieve deleted data from the encrypted internal storage of a modern iPhone.
Instead, they typically search an existing iPhone backup, retrieve information already synced to a cloud account or access data that remains available from a functioning and unlocked device.
They cannot repair a damaged phone, bypass the passcode, decrypt protected storage or guarantee the retrieval of permanently deleted data.
Before purchasing any software, check exactly what source it claims to search: a backup, a cloud account or the device itself. Avoid any process that asks you to erase, restore or update the affected iPhone.
Pro tip: Stop creating new data or making major changes to the phone. Continued use, syncing, updates or application activity may reduce the available options.
If the phone will not power on or unlock, software is not the right pathway. That requires board-level laboratory work through iPhone data recovery.
Step 4: When To Call The Professionals
Some situations are hardware problems presenting as data loss. Every DIY attempt can reduce the available options:
- The iPhone will not turn on or is stuck looping on the Apple logo.
- It has been exposed to water, even briefly or if it continued working afterwards.
- The screen is smashed and unresponsive, with the data locked inside.
- The phone gets hot, drains rapidly or shuts down at random.
Dropped It In Water? Do This Right Now
Power it off and leave it off. Do not charge it. Power combined with moisture can damage the board.
Skip the rice because it does not remove internal moisture or stop corrosion. Get the phone to a lab within a day or two where possible.
Our liquid damage service exists for this type of situation. Recovering the data comes first, before any decision is made about repairing the phone itself.
For hardware-damage cases, professional assessment avoids the additional risks created by repeated DIY attempts. Your data is also handled securely and confidentially.
How Professional Recovery Works
Here is what happens when you hand a dead iPhone to our technicians:
- Assessment: We test the board and give you a realistic indication of what has failed and the likelihood of recovery. The applicable assessment fee is advised before the phone is booked in. The fee is non-refundable because it covers the diagnostic work required to identify the fault and available recovery options.
- Component-level work: Where viable, we attempt the necessary component-level work on the original board. This may involve addressing damaged power circuitry, charging components or corrosion under a microscope. Not every damaged circuit or corroded board will be repairable.
- Boot and unlock: The goal is to restore sufficient functionality for the phone to boot. Your passcode can then be used to unlock the data.
- Extraction and verification: We copy the data that the phone’s recovered state allows. This typically includes photos, messages, notes and contacts, along with app data where possible. Exactly what can be extracted and verified depends on the phone, its encryption, the iOS version and how each application stores its information.
- Return of data: Your files are returned on a drive or through a secure transfer, and you can verify them at collection.
The process is more complex than plugging in a cable and clicking “restore”, which is why professional work may be worthwhile in severe cases.
Step 5: What Is Not Recoverable?
We give you straight answers because false hope costs you money.
Recovery may not be possible where the device has been securely erased or restored, the required encryption components are irreparably damaged, the passcode is unavailable, or the original logic board cannot be repaired sufficiently to unlock the data.
Permanently deleted data that is no longer present in a backup, synced service or accessible application state may also be unrecoverable.
How To Avoid Future Data Loss
Once you have been through the stress of data recovery, you will want to reduce the chance of facing the same situation again:
- Enable iCloud Backup and keep automatic backups turned on. Check occasionally that the backups are completing successfully.
- Back up your iPhone to a computer regularly as a second option alongside iCloud.
- Use cloud-sync services such as Google Photos and Dropbox for an additional layer of protection.
- Be careful with updates and always back up before installing a major iOS upgrade.
- Use a protective case. A suitable case may reduce the risk of serious device damage if the phone is dropped.
These habits can turn a possible disaster into a minor inconvenience.
Get Your iPhone Data Back In Auckland
If the steps above did not restore your files, or the phone will not turn on, bring it to 73inc for iPhone data recovery in Auckland.
The first conversation is free, and we will explain what the assessment involves and what it costs before anything is booked in.
Call 0800 726 622 or visit us at 55b Pollen Street, Grey Lynn, open Monday to Saturday from 9am to 5pm.


