



Deleted the wrong folder? Lost a document you have been working on all week? Or watching your Mac misbehave while years of photos and videos are trapped inside?
Data loss is horrible, and the internet is full of advice that can make it worse. This guide walks through the best recovery methods in the order you should actually try them, from quick built-in checks through recovery software to knowing when professional data recovery is the right option.
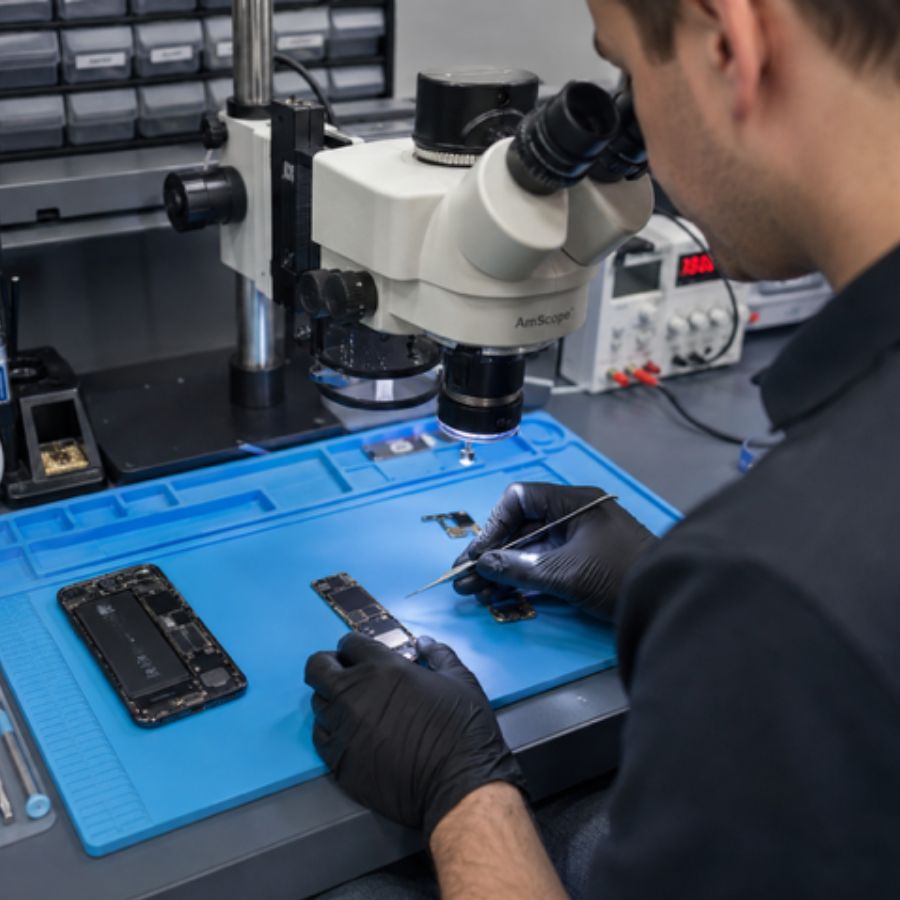
Skip the DIY entirely if: your Mac will not turn on, an external drive is clicking or buzzing, or liquid is involved. In those cases, every attempt, every reboot and every scan makes things worse.
That is a lab job from the first minute. Our MacBook data recovery service in Auckland starts with a free initial discussion. We will explain whether recovery looks realistic, what the assessment involves and any applicable assessment fee before your device is booked in.
If a technical assessment is required, we will provide a recovery quote afterwards before any work proceeds.
Before You Try Anything: Three Rules
- Stop using the Mac or drive that the files were on. Deleted files are not erased immediately, but every download, save, update and browser session can overwrite them. Recovery odds drop with every write.
- Never install anything on the drive you are recovering from. Installing a recovery app onto the affected drive can overwrite the exact files you are trying to save. Use a second Mac or a different drive.
- Note what happened and when. “Deleted a folder yesterday” and “the drive vanished mid-copy” are completely different problems with different fixes. That one detail decides which method below is worth your time.
Way 1: Check The Trash And Use “Put Back”
Obvious, but it solves more “data loss” than every other method combined. Open the Trash from the Dock, find your file, right-click it and choose Put Back. The search box in the top-right corner also works within the Trash.
macOS will return the file to the exact folder it came from.
This method works when the file was deleted normally and the Trash has not been emptied. It will not work once the Trash has been emptied. On a modern Mac’s internal SSD, an emptied Trash usually means the file is gone for good.
Way 2: Check iCloud And Cloud “Recently Deleted” Folders
Files deleted from a synced location may remain available in the cloud after the local copy is gone. Availability and retention periods vary depending on the iCloud service and when the item was deleted.
- iCloud Drive: Sign in at iCloud.com, then go to Drive and Recently Deleted. Depending on the file and service, deleted iCloud data may also be restorable through the data recovery options in your iCloud account settings. Go to iCloud.com, open Account Settings and look for the restore options for files, contacts, calendars and bookmarks. It is worth checking both locations.
- Photos: The Recently Deleted album in Photos on the Mac or iCloud.com holds deleted photos and videos for around 30 days. On the Mac, you may be asked to authenticate before opening it.
- Notes: Notes has its own Recently Deleted folder.
This method works when the folder is synced to a cloud service. It will not work when the files only ever lived locally.
Way 3: Restore From Time Machine
If Time Machine has been set up on your Mac, individual files can often be restored quickly. You do not need to restore the whole system.
How quickly the file can be restored depends on the backup being complete, intact and accessible. Encrypted backups require their password, and older snapshots may no longer exist.
- Connect the backup drive if it is not already connected.
- Open Time Machine using Spotlight, or select the menu-bar clock icon and choose Browse Time Machine Backups.
- Navigate to the folder where the file was stored.
- Step back through the timeline until the file appears.
- Select the file and click Restore.
If Time Machine has been enabled, macOS may also keep local snapshots on the Mac itself. This depends on the storage format and available space, so local snapshots are not guaranteed to exist. Time Machine browses them in the same way.
It can be worth checking for local snapshots even when the backup drive is not connected.
This method works when Time Machine was enabled before the data loss. It will not work if Time Machine was never set up.
After the current recovery issue has been resolved, use our Time Machine setup guide to establish a backup for the future.
Way 4: Pull The Files Off With A Second Mac
If the Mac still starts but is unusable, macOS will not finish booting, or the built-in screen or keyboard has failed, you may be able to reach its drive from another Mac over a cable. You may need an external monitor or keyboard to complete the process.
Treat this as an option to try rather than a guaranteed pathway. Whether the disk appears and whether you can unlock it depend on the Mac’s condition and security settings.
- Apple silicon M-series Macs: Share Disk. The Mac must be able to reach macOS Recovery. Shut it down, then hold the power button until Startup Options appears. Choose Options > Continue, then Utilities > Share Disk. Select the disk and choose Start Sharing. On the healthy Mac, open Finder and look under Network for the shared Mac. Follow the prompts to connect and unlock the volume using the required account credentials.
- Intel Macs: Target Disk Mode. Restart the Mac while holding T. If Target Disk Mode is available, the Mac’s drive mounts on the second Mac like an external disk. Availability and behaviour vary depending on the model, security settings, FileVault status, cable and macOS version.
The Mac must power on and reach the necessary recovery or startup screen. You will also need a suitable Thunderbolt or USB-C cable. Because Mac storage is encrypted, you will need the login password to unlock the disk.
If the Mac shows nothing at all when you press the power button, with no chime, no backlight and no Startup Options, then this method will not be available. In that case, see our MacBook not turning on guide or contact us for MacBook data recovery.
Way 5: Use Recovery Software
Recovery apps scan a drive for deleted files that have not yet been overwritten. They have a real but narrow window in which they may work.
They can work when the drive is healthy and still mounts, the files were simply deleted, and the storage is a mechanical hard drive, external drive, USB stick or memory card.
They mostly cannot work on your Mac’s internal SSD. Modern SSDs use TRIM, which permanently clears deleted data within minutes to keep the drive operating efficiently.
Files emptied from the Trash on a modern MacBook’s internal storage are, in most cases, genuinely unrecoverable by either software or a laboratory. We would rather tell you that directly than let an app charge you to confirm it.
If you run a scan, follow these rules:
- Install the software on a different Mac or drive.
- Recover files to a different drive.
- Stop immediately if the affected drive begins clicking, disconnecting or producing errors.
At that point, every additional minute of scanning increases the risk of further physical damage.
Also be cautious of the free-scan funnel. A message such as “Found 2,847 recoverable files. Pay to view” is not, by itself, reliable evidence that your files can be successfully recovered. If the tool cannot show a genuine preview of the files, do not pay.
Way 6: Use Data Recovery Services When It Is A Lab Job
If the methods above came up empty or the symptoms below match, stop experimenting. Some failures are physical, and every additional attempt can cause further damage:
- The Mac will not power on or shows a flashing folder with a question mark.
- An internal or external drive is clicking, buzzing or beeping.
- The drive disappeared during use, or Disk Utility reports it as damaged.
- Liquid was involved. Do not charge the device, and see us for liquid damage service.
- Files copy with repeated errors, or the Mac freezes whenever you open certain folders.
What A Lab Can Do That An App Cannot
On modern Macs with T2 or Apple silicon hardware, the storage is soldered to the logic board and encrypted to that specific board. Recovery may therefore require repairing your original board at component level until the Mac can unlock its own data.
Where possible, recovery is performed from a sector-by-sector image or clone rather than repeatedly working directly from the failing original drive.
Real recovery takes days, not minutes. Straightforward data recoveries are often completed within 2-5 working days of approval, while complex recoveries can take two to four weeks.
For Mac data recovery in Auckland, start with a free initial discussion. Where a technical assessment is required, the applicable assessment fee is explained before booking. Recovery work is quoted separately after assessment, and nothing proceeds without your approval.
Call 0800 726 622, enquire online or visit our workshop.


